Last updated: 29 July 2023
Do you take dozens of photos a day without thinking travelling? Do you find yourself taking photo after photo after photo without reviewing them? Do you find yourself sharing some photos on Instagram and never giving a second thought about the others you’ve taken?
If you’re anything like us then you’ll probably find yourself agreeing with a lot of these questions. It’s so easy to be able to take dozens (or even hundreds) of photos per day on your smartphone when exploring a new city and never giving them a second glance one they’ve been uploaded or shared on Instagram, Facebook, etc.
So, that’s what made the idea of taking a polaroid photo walking tour through Vienna with Polawalk so intriguing! The opportunity to experience Austria’s capital city from behind the lens of a polaroid camera with only 8 shots.
Say what?!? Yes, you read that right. A grand total of 8 shots only. We would need to learn about composition, choose our angle, adjust the light meter, and ensure that the conditions were perfect before pressing the shutter button. An exciting prospect.
Who are PolaWalk?
PolaWalk is the brainchild of founders Gilbert Lechner and Thomas Preyer who created the concept of a Polaroid walking tour in 2013 with the intention to empower others to capture unforgettable moments. PolaWalks are available in the Vienna, Graz, and Warsaw.
PolaWalk Vienna
We met our guide, Kady, on the steps of St Charles Church on a sunny Sunday morning. Kady, a photography enthusiast and Vienna local welcomed us to our Polawalk tour and other members of our tour and informed us on the day’s activities.
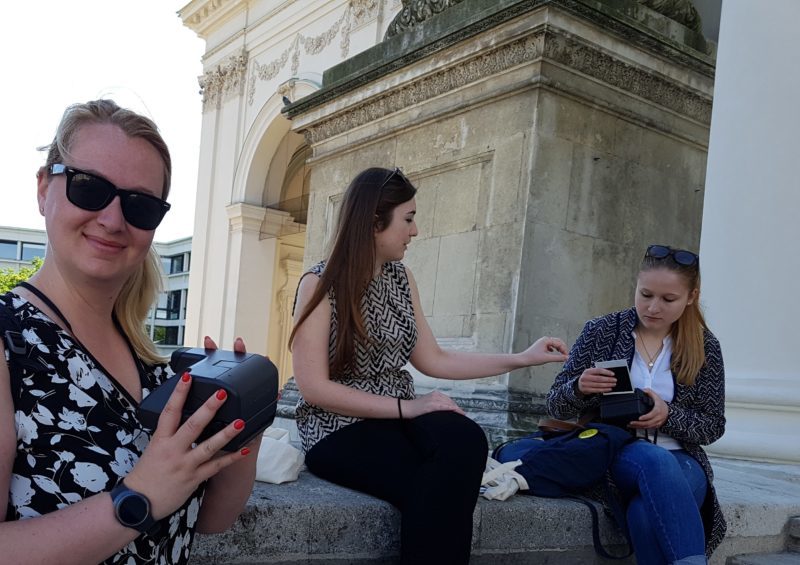
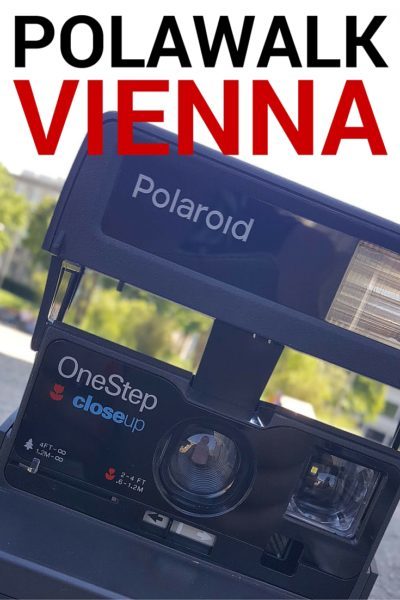
We were then given our polaroid cameras and given an overview of how to use them, insert the film, adjust the light meter, and understand the best way to shoot a subject for optimal results.
It’s been quite awhile since I last used a polaroid camera so the explanation and demo at the start of the tour was very much appreciated. One really interesting thing I learned was that daylight conditions could affect the developing process so we were advised to use a black card to place over the photo and let it develop in our plastic lanyards. One thing I loved about the Polawalk tour was that it’s a maximum of 6 people per group so we had the opportunity to ask plenty of questions and get extra help from our guide if needed.
The Tour Begins…
After the initial brief and setup we were ready to explore Vienna! Armed with our original 1990’s polaroid cameras and a newfound understanding of polaroid photography, we started our tour.
Photo 1 – Karlsplatz Stadtbahn Station
We started our tour on the steps of St Charles Church, a beautiful baroque-style church which is considered to be one of Vienna’s finest. It would be difficult to capture its majesty from the front steps so we took a short walk to the Karlsplatz Stadtbahn station, situated 5 min away.
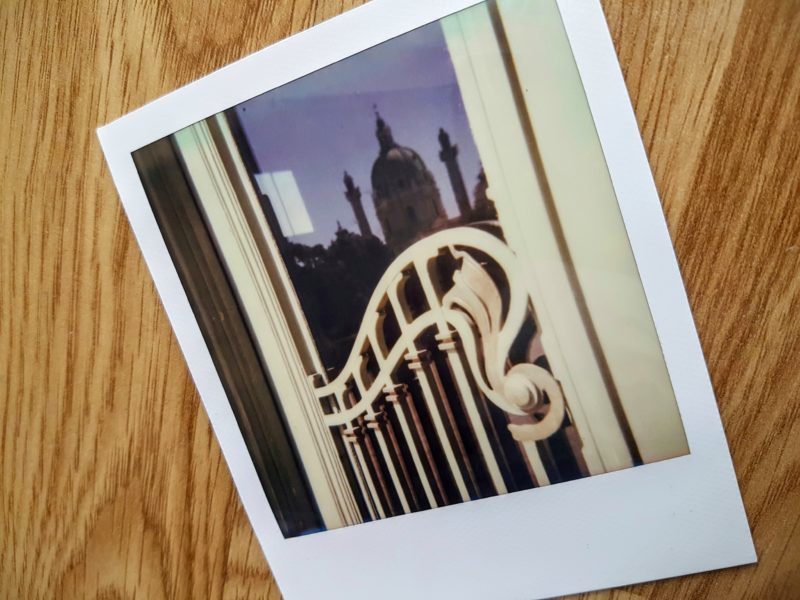
We arrived at the Otto Wagner Pavillion of the Karlsplatz Stadtbahn Station, a former station of the Vienna lightrail (tram) network and a wonderful example of Jugendstil architecture. This location is perfect for a view of St Charles Church and of the Otto Wagner Pavillion.
This is where I decided to take my first polaroid photo but also to flex my creative muscle, a photo of St Charles Church and Karlsplatz Station in the one shot. With a little help from Kady, I took my first of 8 photos and I think it turned out pretty well.
Russell Recommendation: It’s all about the reflections. Let your creative juices flow.
Roma Says: If the shot doesn’t feel right, don’t take it.
Photo 2 – State Opera House
There’s no denying that a visit to the State Opera House is a must for all visitors to the Vienna. It’s simply beautiful and the hardest part of visiting is trying to find the best place to take a photo to capture its striking facade.
We stood across the road and just appreciated its beauty for moment or two before we started trying to determine the best place to take the photo. The popularity of State Opera House wasn’t in doubt, it was surrounded by a constant flow of tourist buses which prevented us from taking the shot that we wanted so we decided to take a walk to the other side of the building to find a better angle.
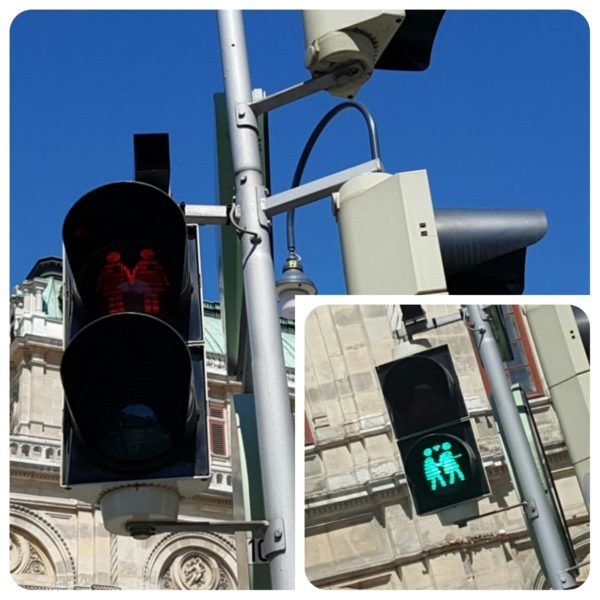
Whilst we were waiting to cross the road, Kady pointed out the traffic light signals. Where we expected to see the standard Do Not Walk symbol of a red man, what we saw was two female Do Not Walk signals holding hands. We were informed that this was a symbol of tolerance installed last year when Vienna was host to the 2015 Eurovision song contest. The traffic signals proved so popular that the city decided to keep them for good. This was very cool and definitely made us all smile.
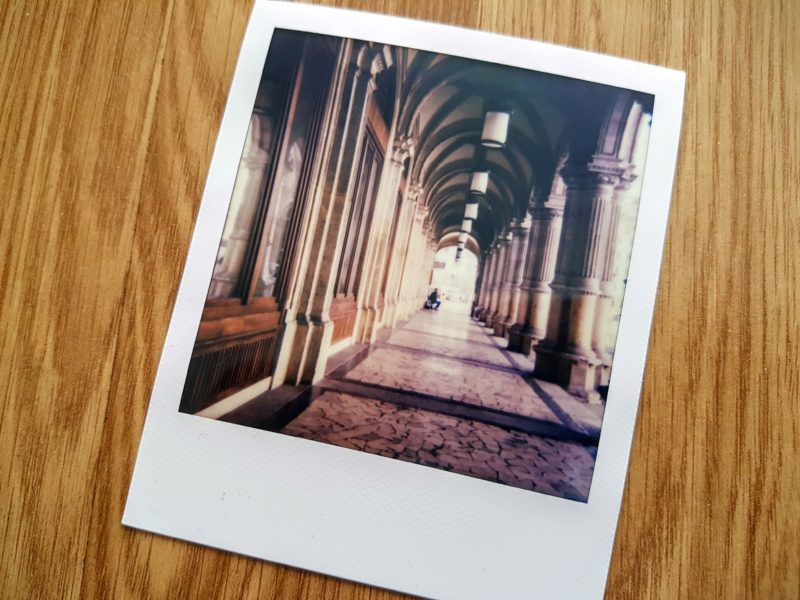
Roma, a keen photographer, spotted the perfect place to take her first polaroid photo – a pedestrian arcade in a less busy section of the State Opera House. Our guide, Kady, assisted with the light meter setting and Roma waited patiently for the crowds to pass before taking a beautiful photo.
Russell Recommendation: Keep your eyes open for the traffic signals
Roma Says: If you spot a shot you want to take, speak up. Your guide and your group will wait for you.
Photo 3 – Albertina Museum
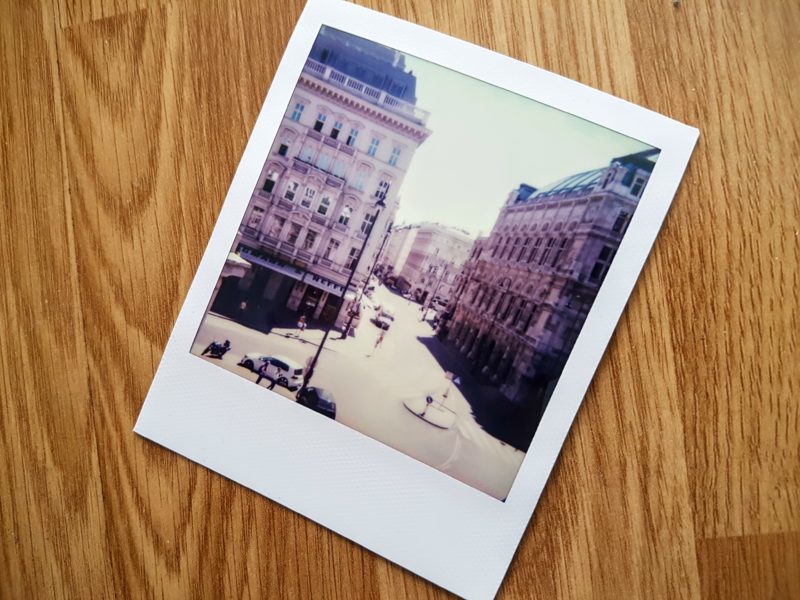
From the State Opera House we headed towards the Albertina Museum, easily one of the most popular and well known museums in the city. We took the escalator up to a viewing platform which provided a wonderful view of the surrounding areas.
Kady pointed out some of the most popular places where people tend to take photos and explained that the best angles for a polaroid camera. I decided to take the opportunity to capture a side of the State Opera House which couldn’t been seen from street level. As it was a beautifully sunny day I needed a little help with setting the light meter but once adjusted, I was ready to take my photo.
One of the things I learned from this tour was just how much time and consideration goes into taking a photo when you know that you only have a small number of shots. I found myself carefully weighing up my options, what would be included in the photo, the light conditions, and if there was a better angle I could be using. It was a new experience and one I enjoyed learning about.
Russell’s Recommendation: The viewing platform at the Albertina is part of the original city walls! Keep this in mind when standing on it.
Roma Says: Don’t be afraid to be different. Push the boundaries of photography and shoot outside the box.
Photo 4: Hofburg Palace
From the Albertina Museum we made our way to the Hofburg Palace, a grand imperial palace which could take days to explore it all. It is genuinely huge! The palace is comprised of multiple buildings, many of them now are museums, a national library, and other parts exhibition spaces which contain a variety of displays.
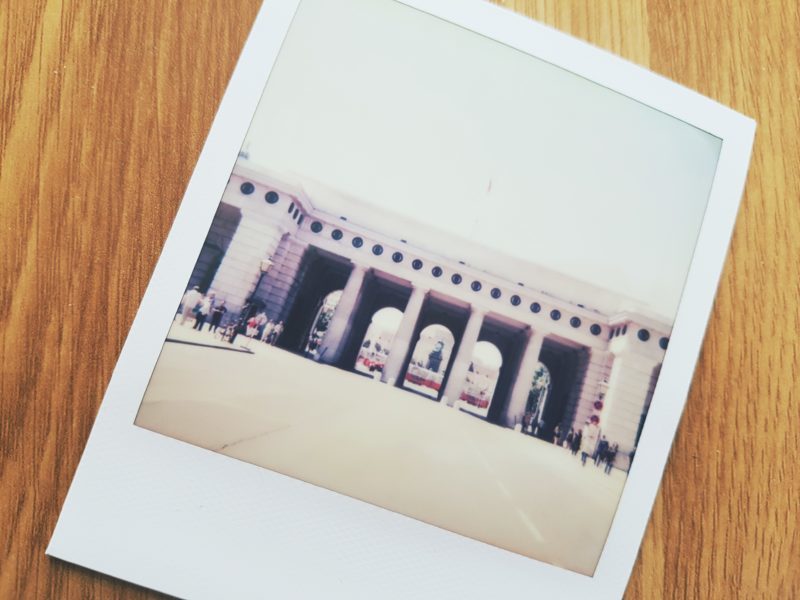
There were plenty of photo opportunities as pointed out by our guide but we were very aware of our finite number of photos so we wanted to hold out until we found something deserving of our next shot. That didn’t take long (hardly surprising really) as Roma spotted the Hofburg Palace Gate which proved a great shot due to the linear lines and symmetry.
The Hofburg Palace Gate is located just in front of the National Library and even though it’s a two way street, traffic flow is few and far between so you have the ability to take your time and really frame up the shot.
Russell’s Recommendation: Check your light metering when it’s a sunny day
Roma Says: Find a reason to take the shot. I spotted a statue and centered it between the columns.
Photo 5: Austrian Parliament Building
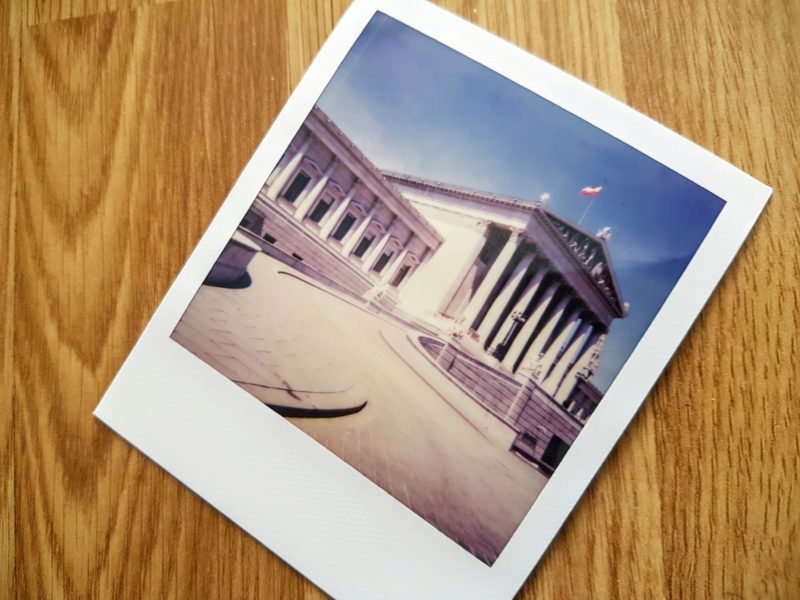
From the Hofburg Palace Gate we made our way to the Parliament Building, the home of Austrian politics. First impressions, it’s incredibly striking! There’s no doubt that something important takes place here, it’s grand in every sense of the word. The Parliament Building was designed by architect Theophil Hansen in the Greek architectural style between 1873 and 1883. There is a 5.5 metre tall statue of Athena (Goddess of Wisdom) holding Nike (Goddess of Victory) in her right hand and a spear in her left.
We found that the best place to take a photo of the Parliament Building was from the left hand side to fit in as much as possible. This is also the best angle to include the statue of Athena and the wonderful columns and fountain.
Russell’s Recommendation: Spend a moment or two at the fountain, it’s very impressive.
Roma Says: The winding road leading up to Parliament gives the foreground some texture and presence with a dominating building in the background. Assess all angles before committing.
Photo 6: Rathaus
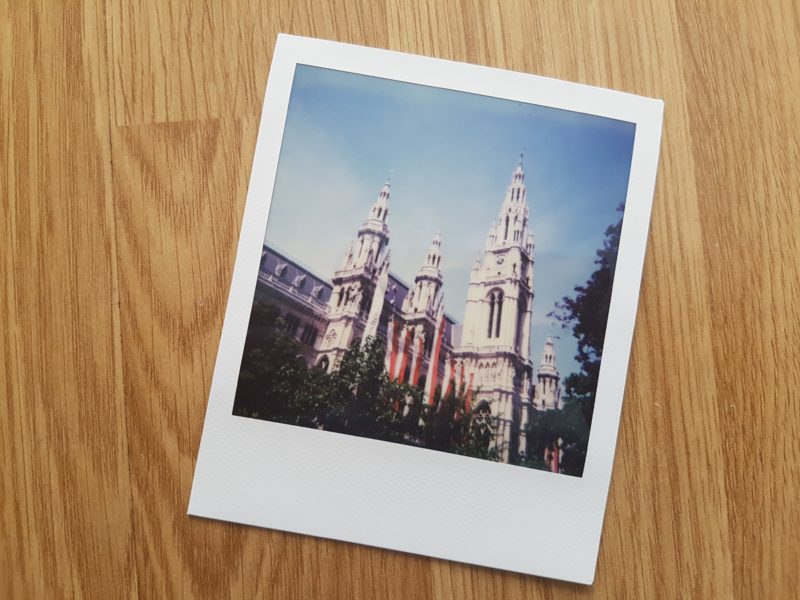
It was a short walk from the Parliament Building to the Rathaus, the Vienna town hall. If you’ve spent any time in Vienna then you probably have seen the Rathaus in the distance or peaking out between buildings but it’s only when you’re standing out the front that you understand how truly impressive this building this. Designed by architect Friedrich von Schmidt and built in Neo-Gothic style between 1872 and 1883, the Rathaus is one of Vienna’s most popular tourist attractions.
If I was shooting the Rathaus on my smartphone then I would ensure landscape mode was enabled to be able to fit in the large building however this wasn’t exactly an option with a Polaroid camera. So as Kady led us through the park, situated at the front of the Rathaus, the perfect photo opportunity appeared. The resulting photo included the grandeur of the Rathaus set amidst the beauty of the park.
Russell’s Recommendation: You don’t have to shoot from the front, see what happens from another perspective
Roma Says: When in Vienna, always look up.
Photo 7: Vienna University / Selfie in the Park
One of the best parts of the tour was the flexibility we had in choosing where we could take photos. If there was a place that we wanted to try and take a photo from, Kady could not have been more accommodating. Such is the case with our next set of photos.
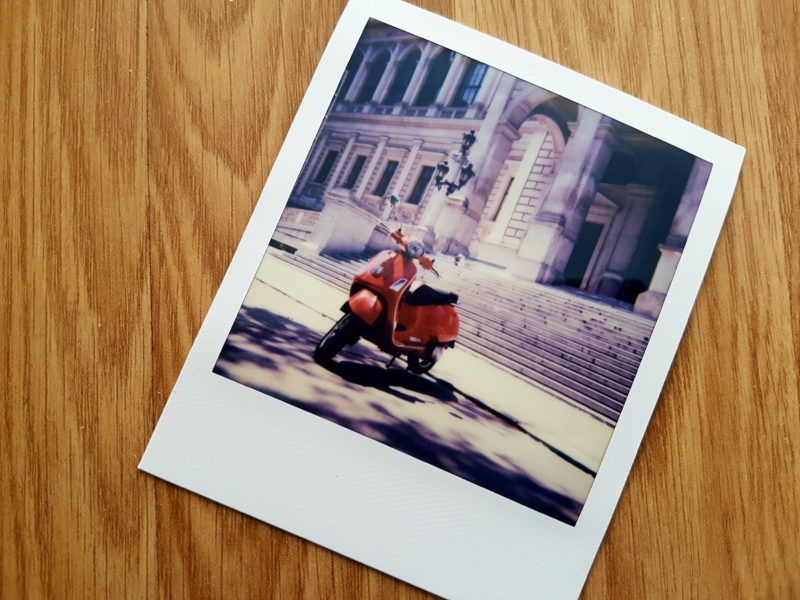
Roma spotted a red Vespa parked out the front of Vienna University which was the perfect setting for the next photo shoot. Instead of shooting the university from outside the front, Roma was able to focus on the Vespa and include part of the building resulting in a unique photo with plenty of texture and character. Personally it was my favourite shot from the tour.
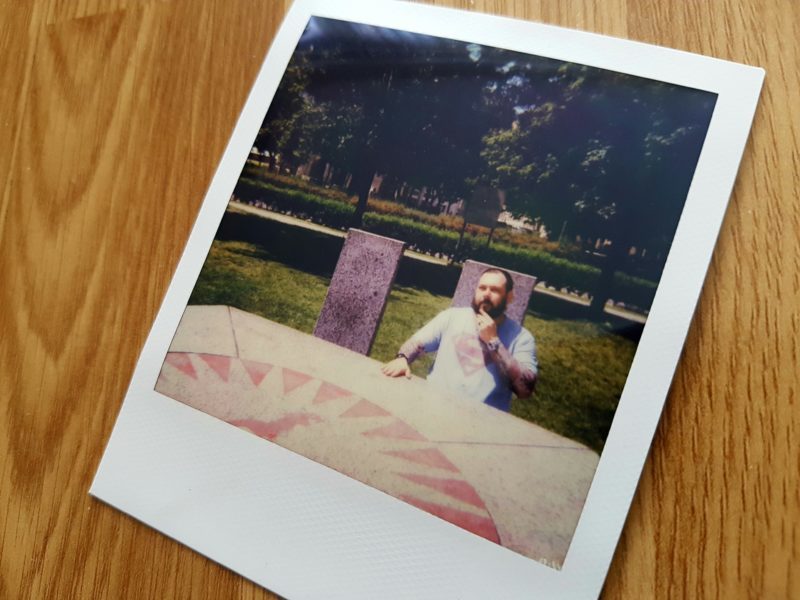
I, on the other hand, decided to use my 7th photo for a selfie. Now it probably doesn’t count as a selfie because I didn’t take the photo myself however the pose chosen for the photo couldn’t be any more selfie.
We visited the Votiv Church (Votivkirche) and whilst it’s a beautiful church and the architecture is very impressive, there is a park just out the front which had an oversized stone dining room set. It was something completely unique and unexpected, so much so, it was the perfect place for my selfie.
Russell’s Recommendation: If you see a good spot for a selfie, take it!
Roma Says: Get high, get low, get somewhere other than eye-level for a different perspective.
Photo 8: Memories
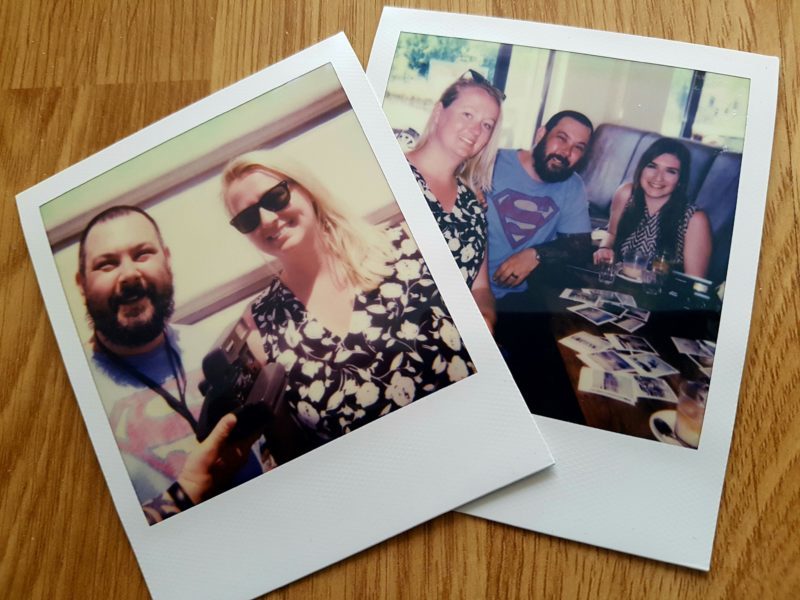
What better way to wind down after a great Vienna city tour than with a couple of photos commemorating our great day out. Big thanks to our awesome tour guide, Kady. We learned so much about polaroid photography and walked away from our tour with a much greater appreciation for the city of Vienna
The Essentials
PolaWalk, Vienna
PolaWalk: www.polawalk.com | @polawalk | fb.com/polawalk
Locations: Vienna
Tour types: Classic, Urban, Prater, Schonbrunn
Duration: 2.5 hours (Urban – 3 hours)
Cost: From €55
Full disclosure. Roaming Required were guests of Polawalk however all views expressed remain our own.
What a great idea. I would really struggle to only take 8 pictures, ut that is one of the things I miss about using cameras with film.
I love the picture with the red vespa!
Thanks so much for the comment, @TheLondonMum! I absolutely agree, I think Roma rocked that photo of the red vespa!